Proxmox Install and basic configuration

Systems Engineer with knowledge and skills on configuring, monitoring and troubleshooting various IT systems from Servers to workstations, networks. A goal oriented and rapid learner. Passionate about technology and improving every day.
Overview
After establishing the networking bases, it’s time to bring our workloads to life. In this post, we will start setting the bases up for our Virtualization environment. The technology chosen for this is Proxmox, which is an open-source virtualization management platform based on Debian, with a friendly GUI, capable of running virtual machines (VMs) and containers, managing them through a single web-based interface.
We will set up a Cluster (group of servers) with 3 Nodes (Servers), with High Availability (HA) capabilities, shared storage, Corosync (Syncing protocol), backups, VMs migrations between nodes, and updates.
For this specific post, we will start off by installing and configuring Proxmox in each node.
Hardware Overview
Our hardware will look the follows:
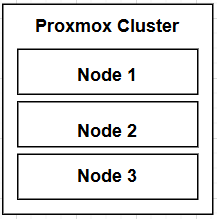
For this setup, we will have the following servers:
(1):
CPU: i5 4th Gen
Ram: 32 GB
HDD: 500 GB (For Proxmox OS)
(2):
CPU: i5 3th Gen
Ram: 16 GB
HDD: 500 GB (For Proxmox OS)
Proxmox Install
Time to install Proxmox, the process is pretty straightforward:
Go to: https://proxmox.com/en/downloads/proxmox-virtual-environment and download the latest ISO version.
Flash it to a USB with any tool like: https://rufus.ie/en/
Connect and boot to the USB.
At first, we will get to select the type of installation:
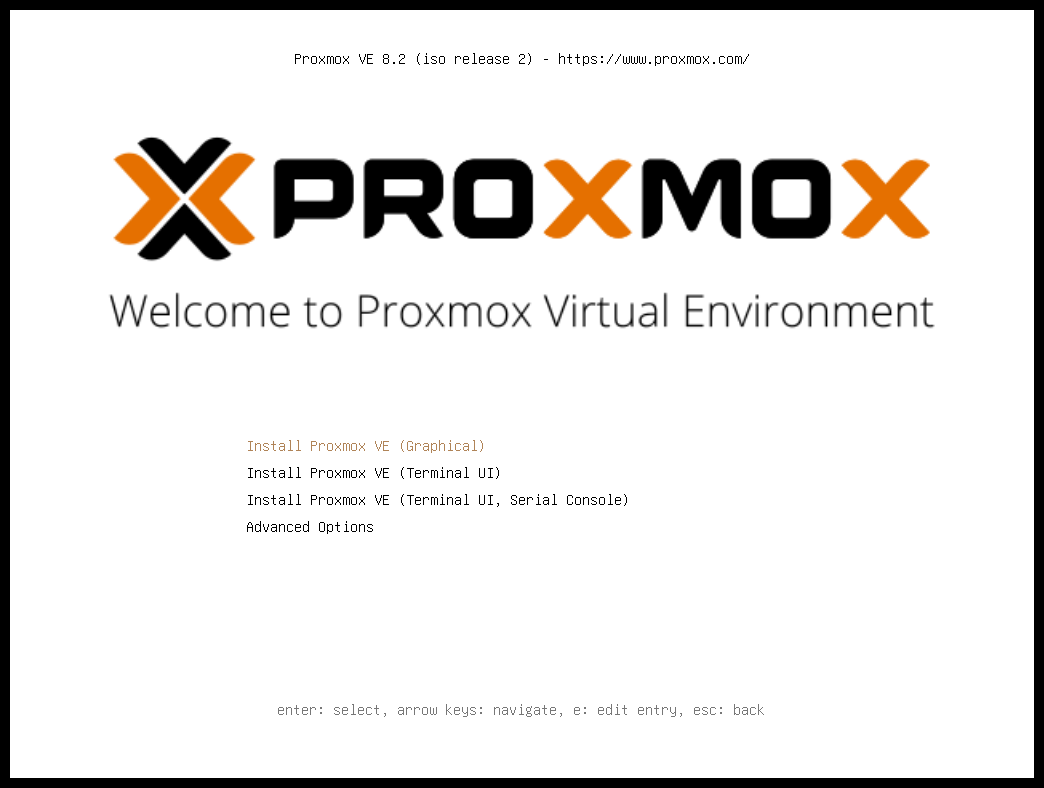
Next, we select the Country, Time Zone, and keyboard layout:

Set up password and Email (which will be used to send notifications about updates, errors..):
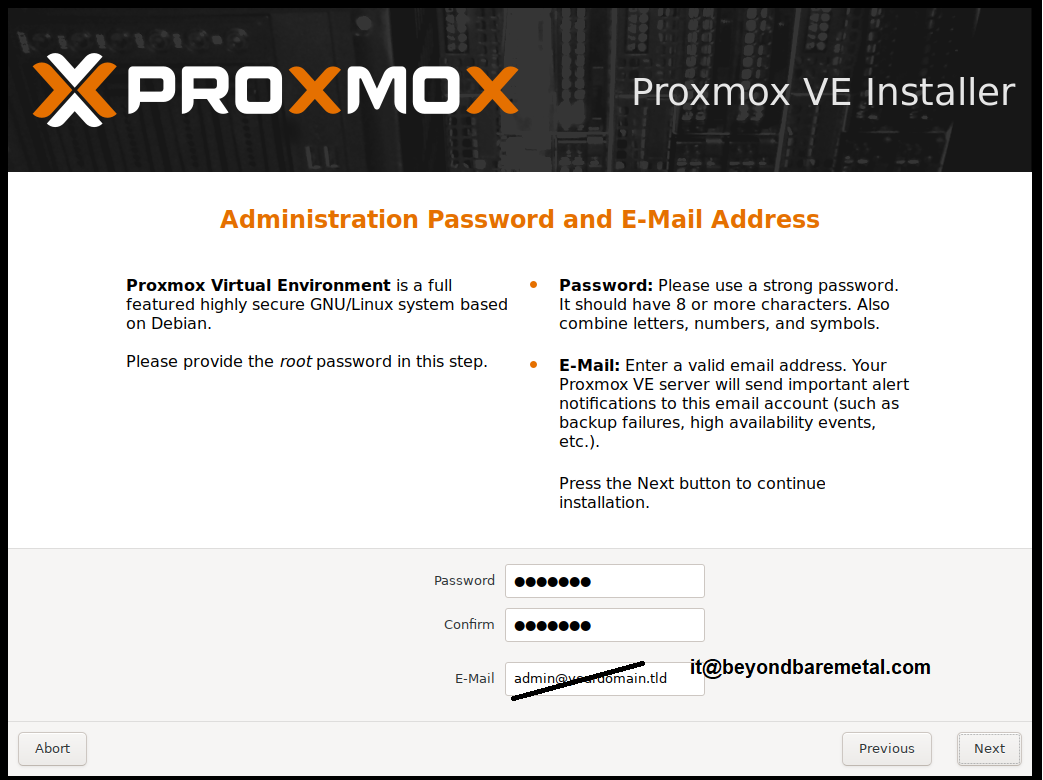
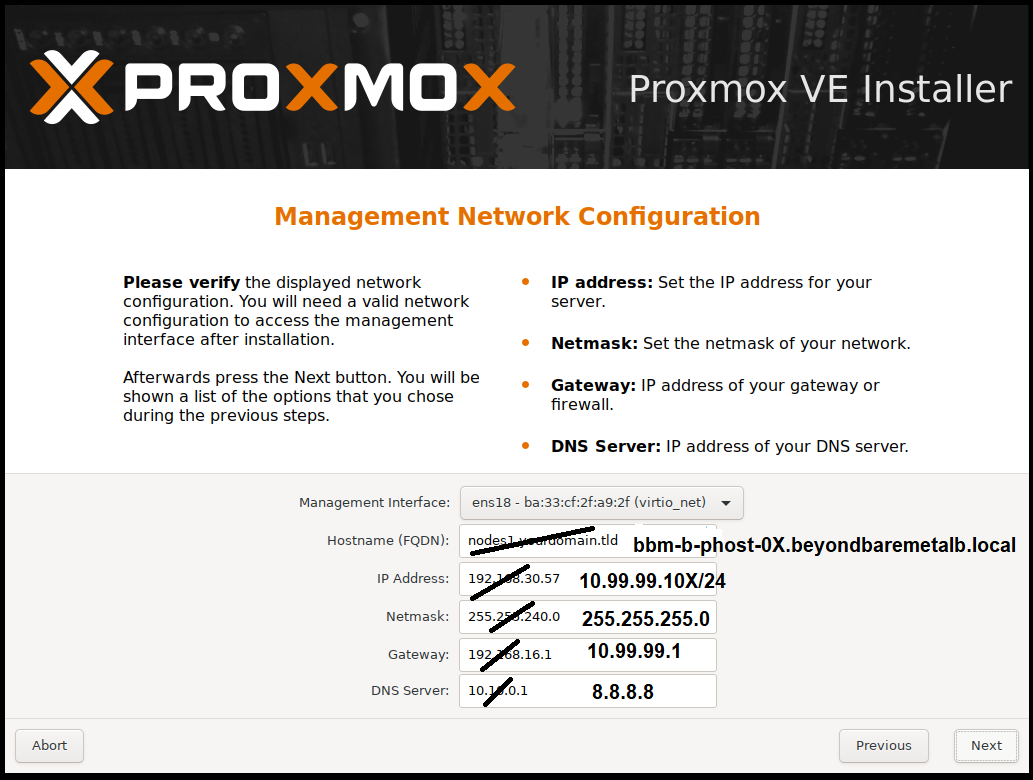
Next, set up the network details (select management interface, hostname, IP, netmask, gateway, DNS):
Hostname: bbm-b-phost-0X.beyondbaremetalb.local (the X will be replaced by the node number).
IP: 10.99.99.10X/24 (the X will be replaced by the node number).
Netmask: 255.255.255.0
DNS Server: 8.8.8.8
Afterwards, we will be presented with a summary page, and we can proceed with the installation:
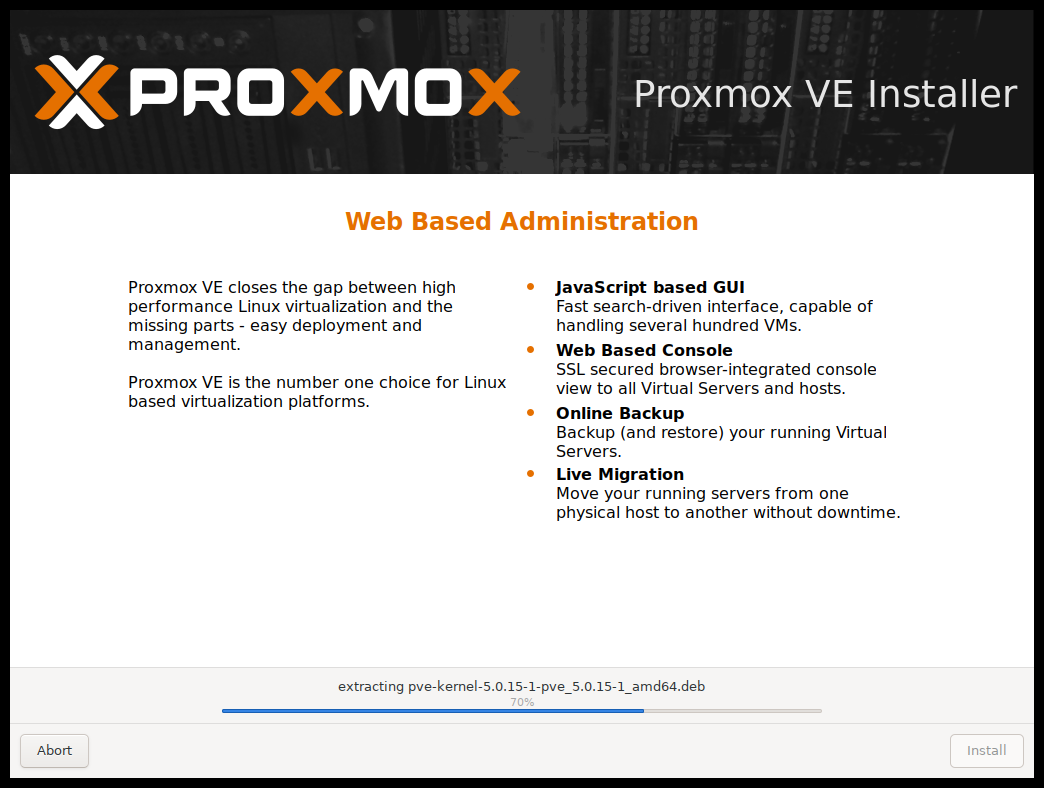
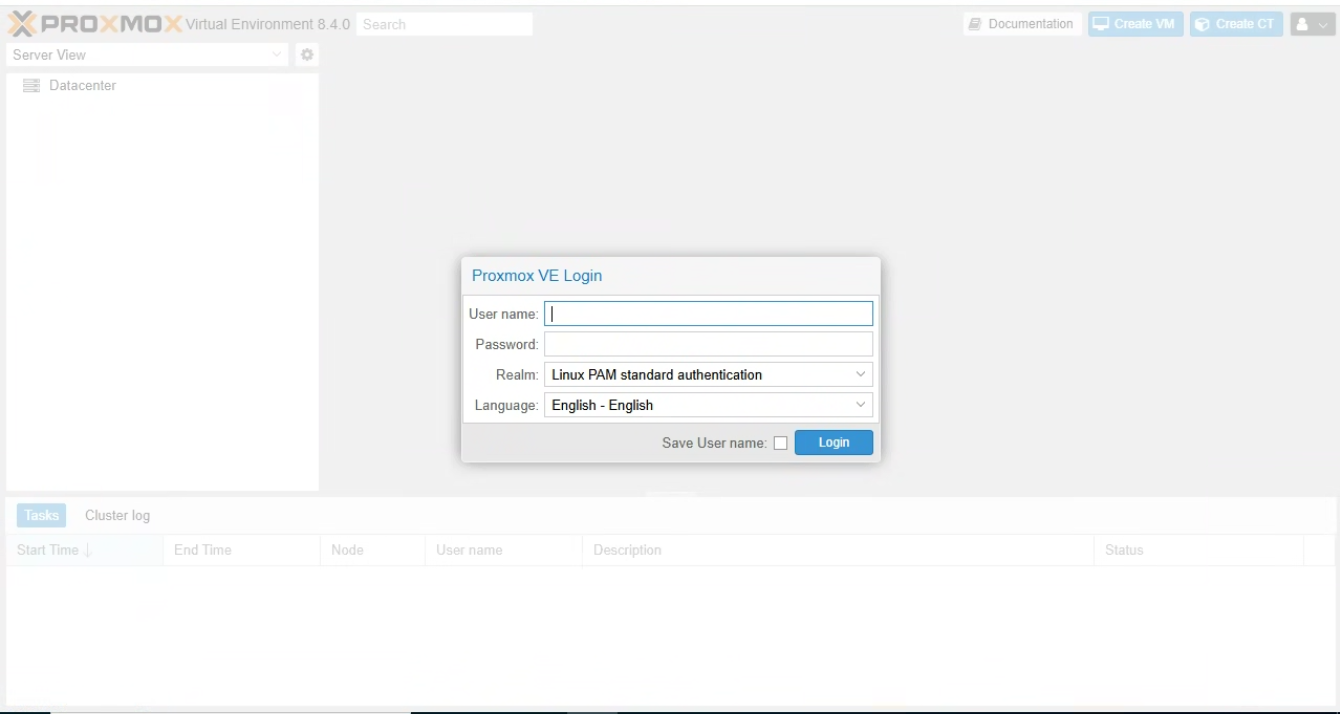
Finally, we can browse to the IP, and the login page will load:
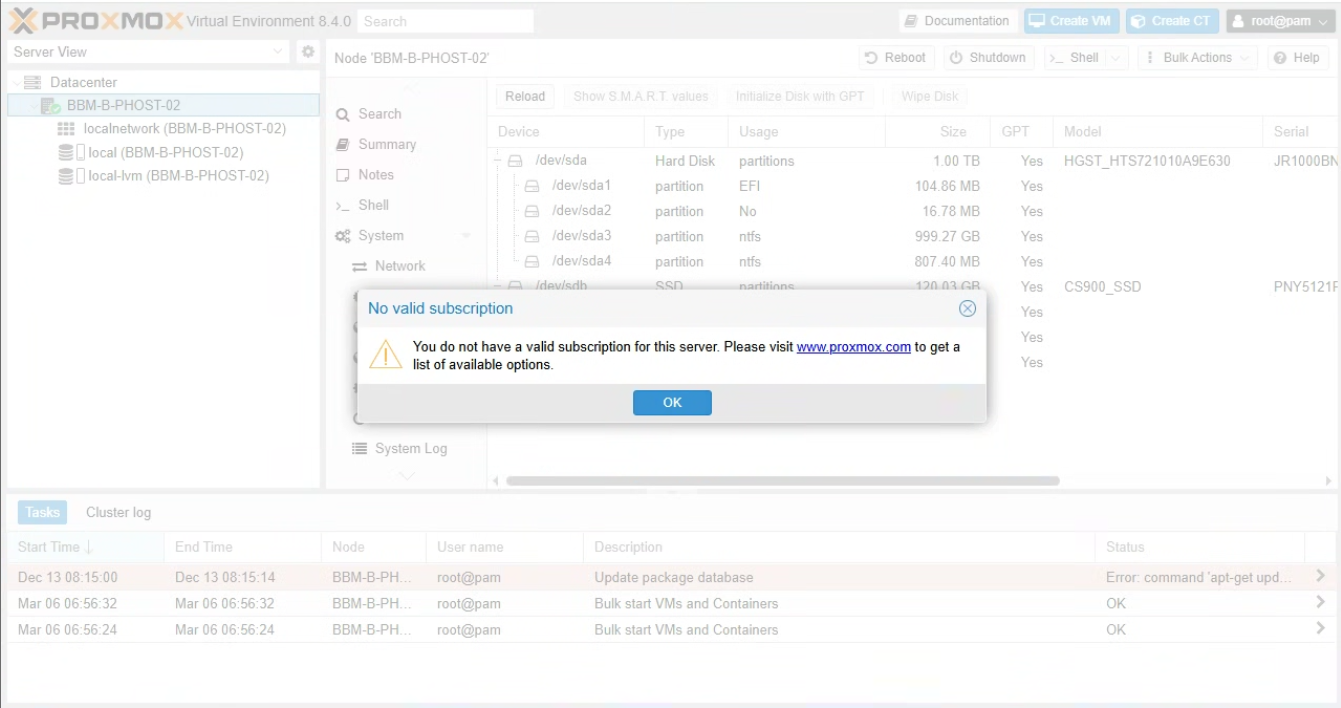
Since we don’t have a valid subscription yet, we will get a pop-up, just hit OK and continue:
Proxmox Update
Now we can proceed to update our Proxmox hosts by going to the Node > Shell:
      apt-get update
      apt upgrade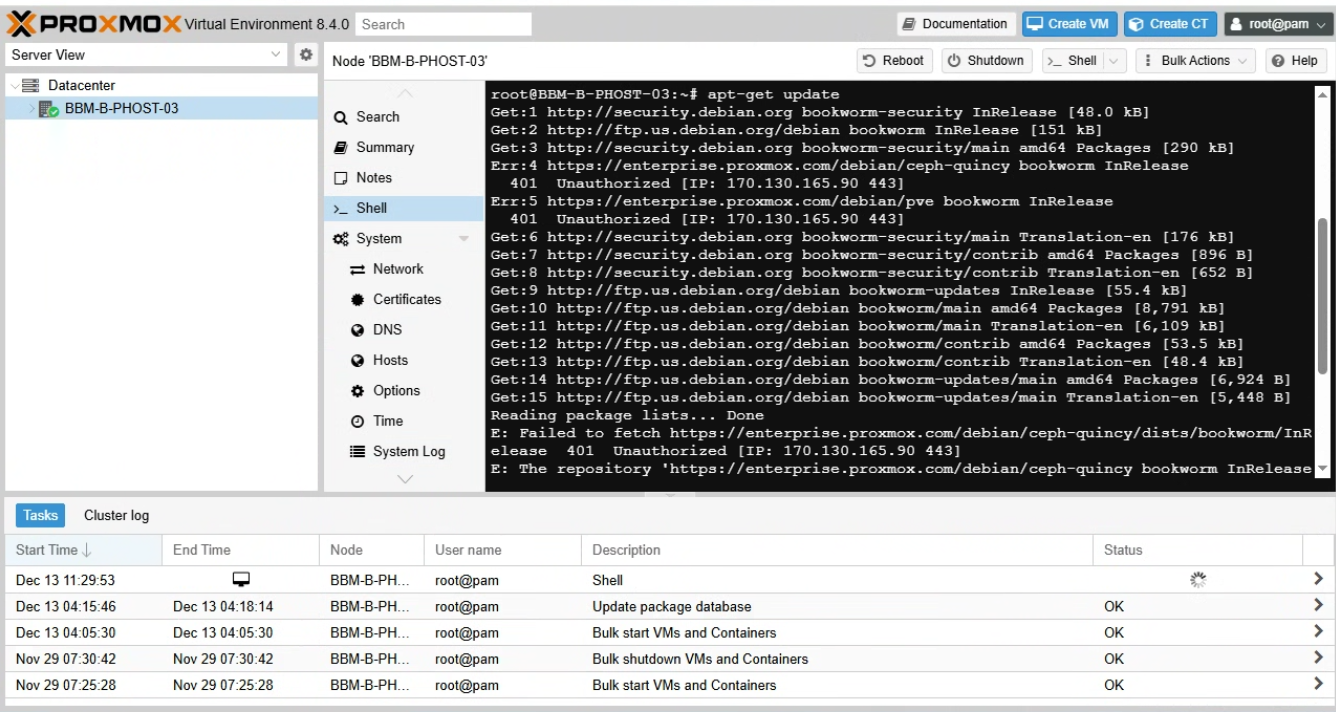
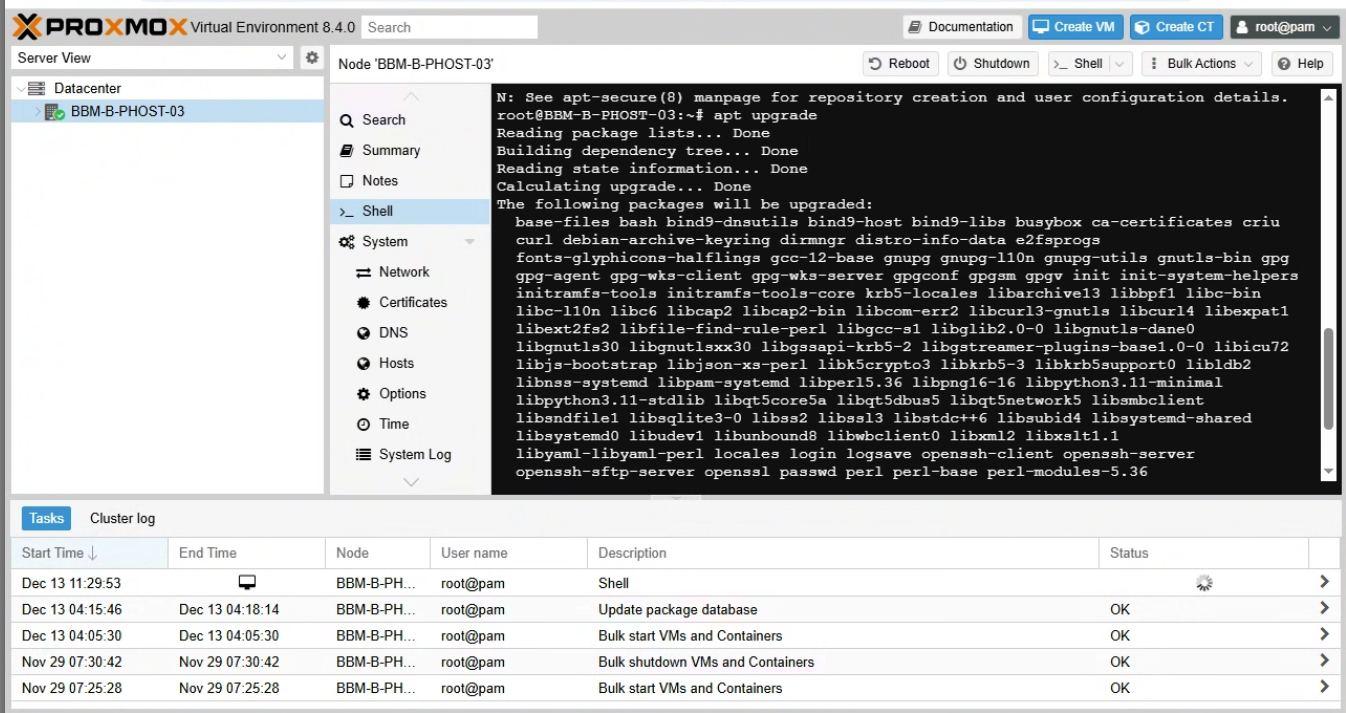
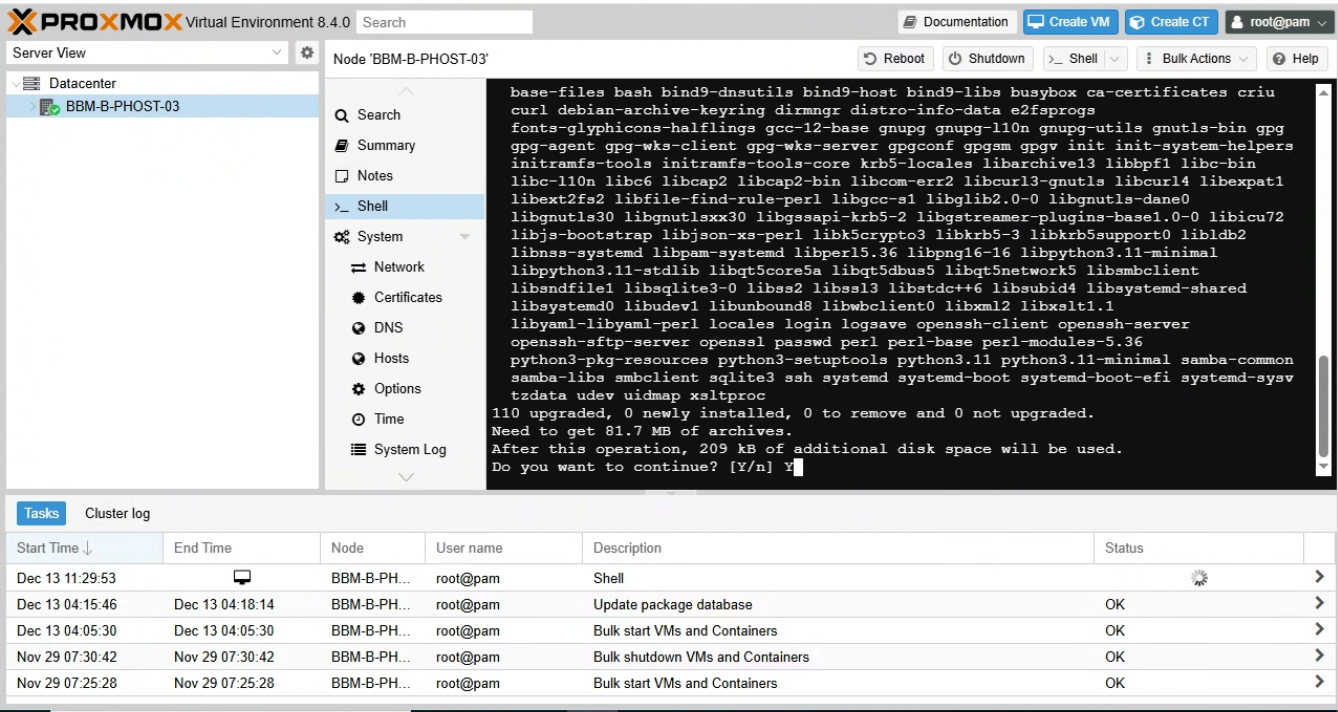
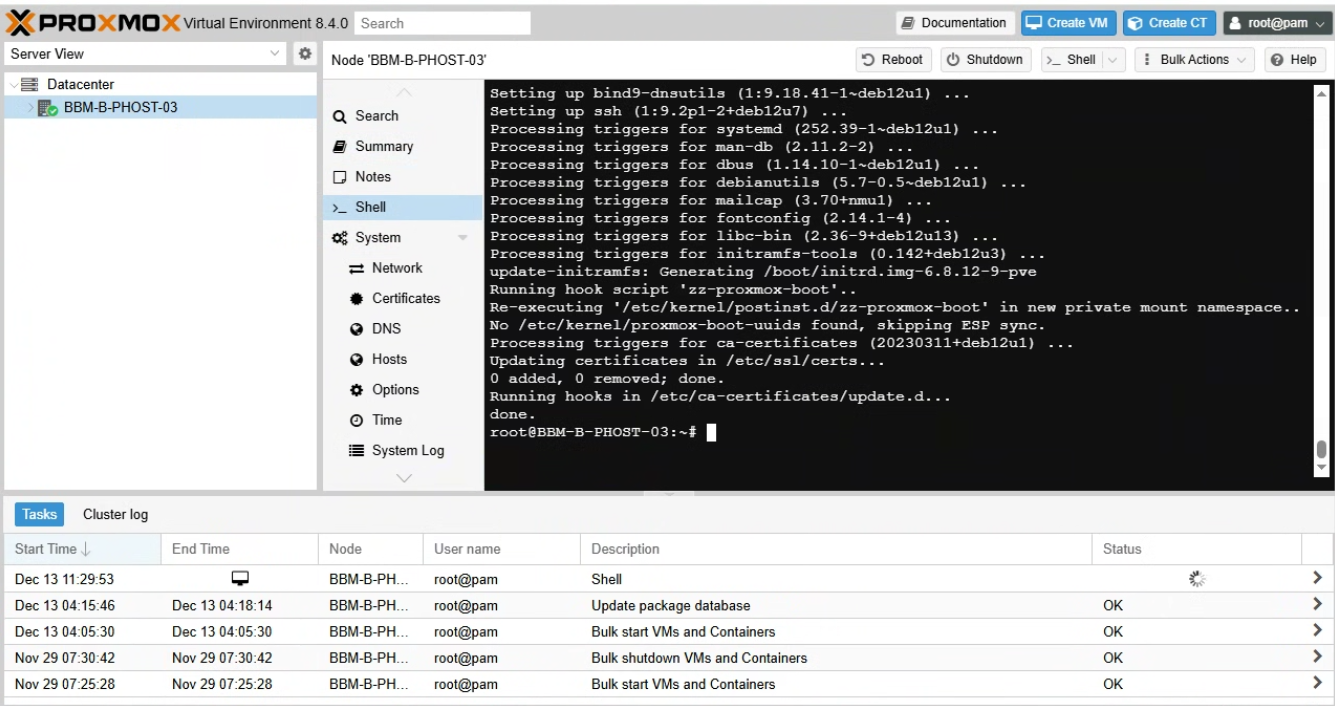
With that, we will have our host fully updated (we will repeat that for all hosts):
Set up Chrony (Time)
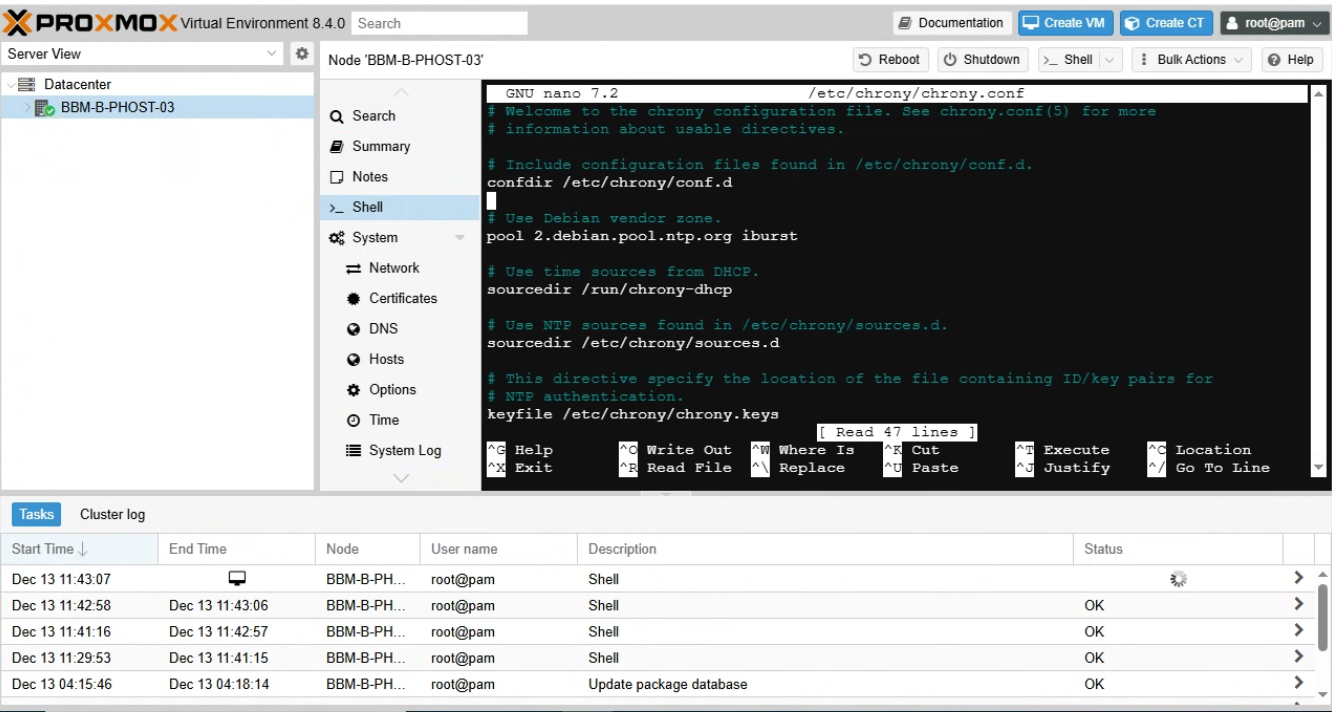
Time in Proxmox is fundamental, needed for updates, for clustering, and many other services, we can configure it by editing: /etc/chrony/chrony.conf
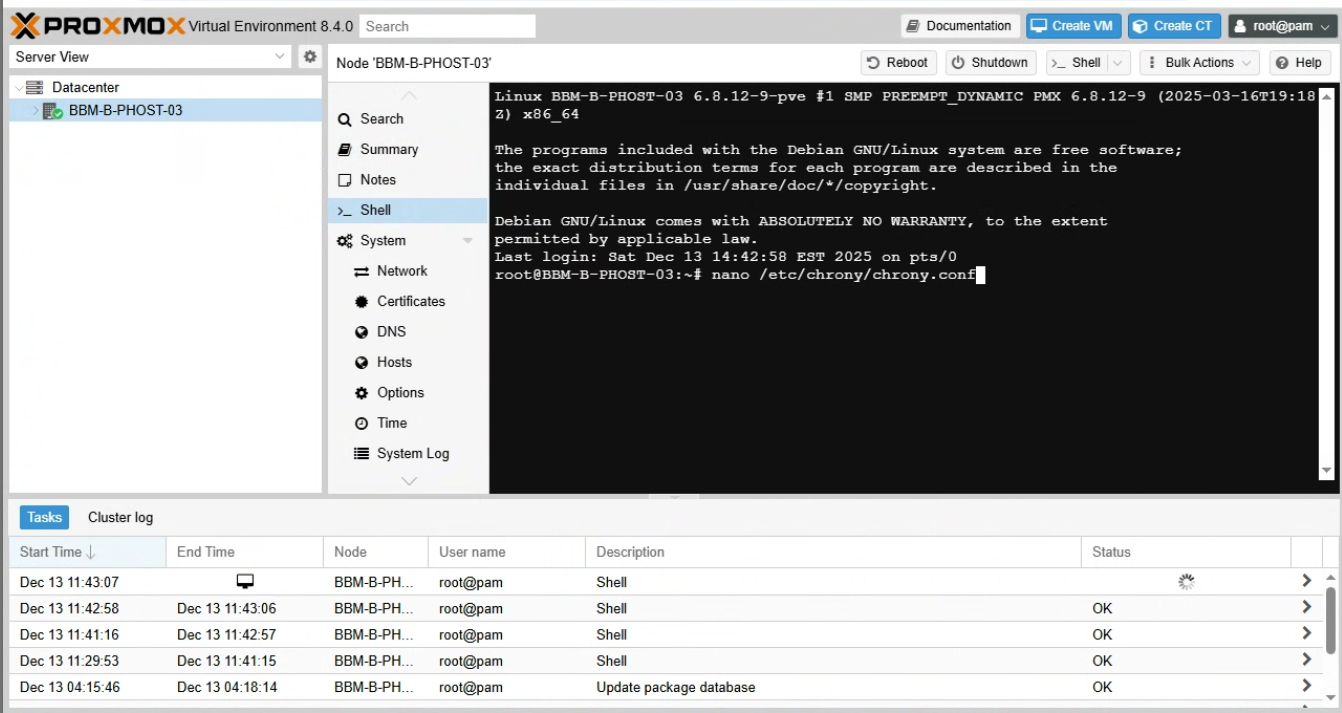
By default, the NTP (Network Time Protocol) pool is set to the default Debian pool, which is fine for our case for now.
Proxmox Authentication
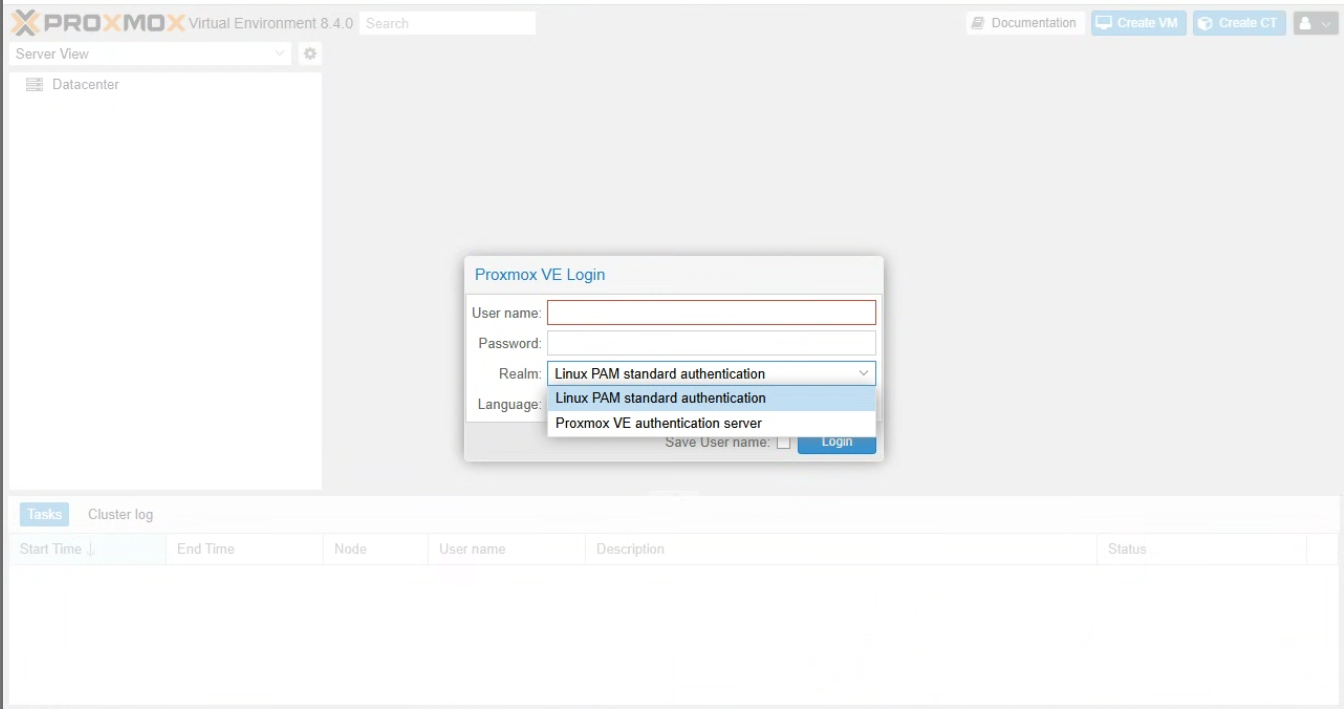
In Proxmox, there are 2 types of Authentication:
Linux PAM standard authentication:
System-level users that exist on the Proxmox host (Debian OS).
Authenticated via PAM and stored in
/etc/passwd.Can access the host via SSH, console, and optionally the Web UI.
Have potential access to system files and services.
Best suited for trusted administrators and maintenance tasks.
Proxmox (PVE) Users:
Application-level users that exist only within Proxmox VE.
Authenticated using Proxmox’s internal user database.
Can access only the Proxmox Web UI or API (no SSH access).
Permissions are fully controlled using Proxmox RBAC.
Ideal for delegated access, operators, and least-privilege roles.
In a nutshell, for all Proxmox configurations, we will keep using the Linux PAM standard authentication through the setup.
Conclusion
With Proxmox now installed, updated, and properly configured on all nodes, we’ve laid the groundwork for our virtualization environment. At this stage, each server is reachable, time-synchronized, and ready to participate in a clustered setup — a critical prerequisite for everything that follows.
We also established our authentication approach, choosing Linux PAM users for administrative access during the initial setup phase. This keeps configuration simple while ensuring full control as we build out the environment.
In the next steps, we’ll begin connecting these standalone hosts into a true Proxmox cluster, configuring dedicated networking for Corosync, and exploring shared storage options that will enable VM migration and High Availability.
Stay tuned for more content.
Thanks for reading!
Link to the series 👉 https://beyondbaremetal.hashnode.dev/series/beyond-bare-metal-first-branch


